Showing posts with label reuse. Show all posts

Tuesday, 14 September 2021

Breaking the Bathroom - Part 3

Welcome to part 3 of Breaking the Bathroom. If you missed part 2, you can find it here.

After falling in love with, then waiting for my new tile to arrive for 2 months, the day finally came!


In order to put the new tile on, I first needed to remove the faucet and old sink. 

 
One last look at this old beauty.


Using a couple of putty knives and set to slowly scraping the old sealant off.


This takes a bit more time than you'd think... you need to very gently pry the sides up. Not shown is when I used a small piece of wood trim to hold up the front edge while I worked around the sides and back.


I cleaned off all the old caulk/sealant, and pulled out my mosaic tile. Thanks Ames tile for being amazing!!


Working in roughly 18" sections, I put on the thin-set, then used the notched trowel to take off the extra.


I started with one sheet high, knowing that I would want to fit the mirror frame first to ensure that the tile fit properly. 


I installed the mirror frame, which was super snug and perfect. I put down some painter's tape to protect the new frame, then was able to fit exactly one row of mosaics into the top space. 


Another 30 hours or so, and I started in on the grout. I chose a white on white look for subtlety. 


Then, I needed to look for a new sink. I agonized over this decision, because the lazy (and partly purist) part of me wanted to head to restore, find one that was the exact same size and plop it down. 

Check back tomorrow to see what I decided to do! 
Sorry, I know I suck with these "to be continued" endings.

Sunday, 20 June 2021

Sofa Save: DIY Upholstery

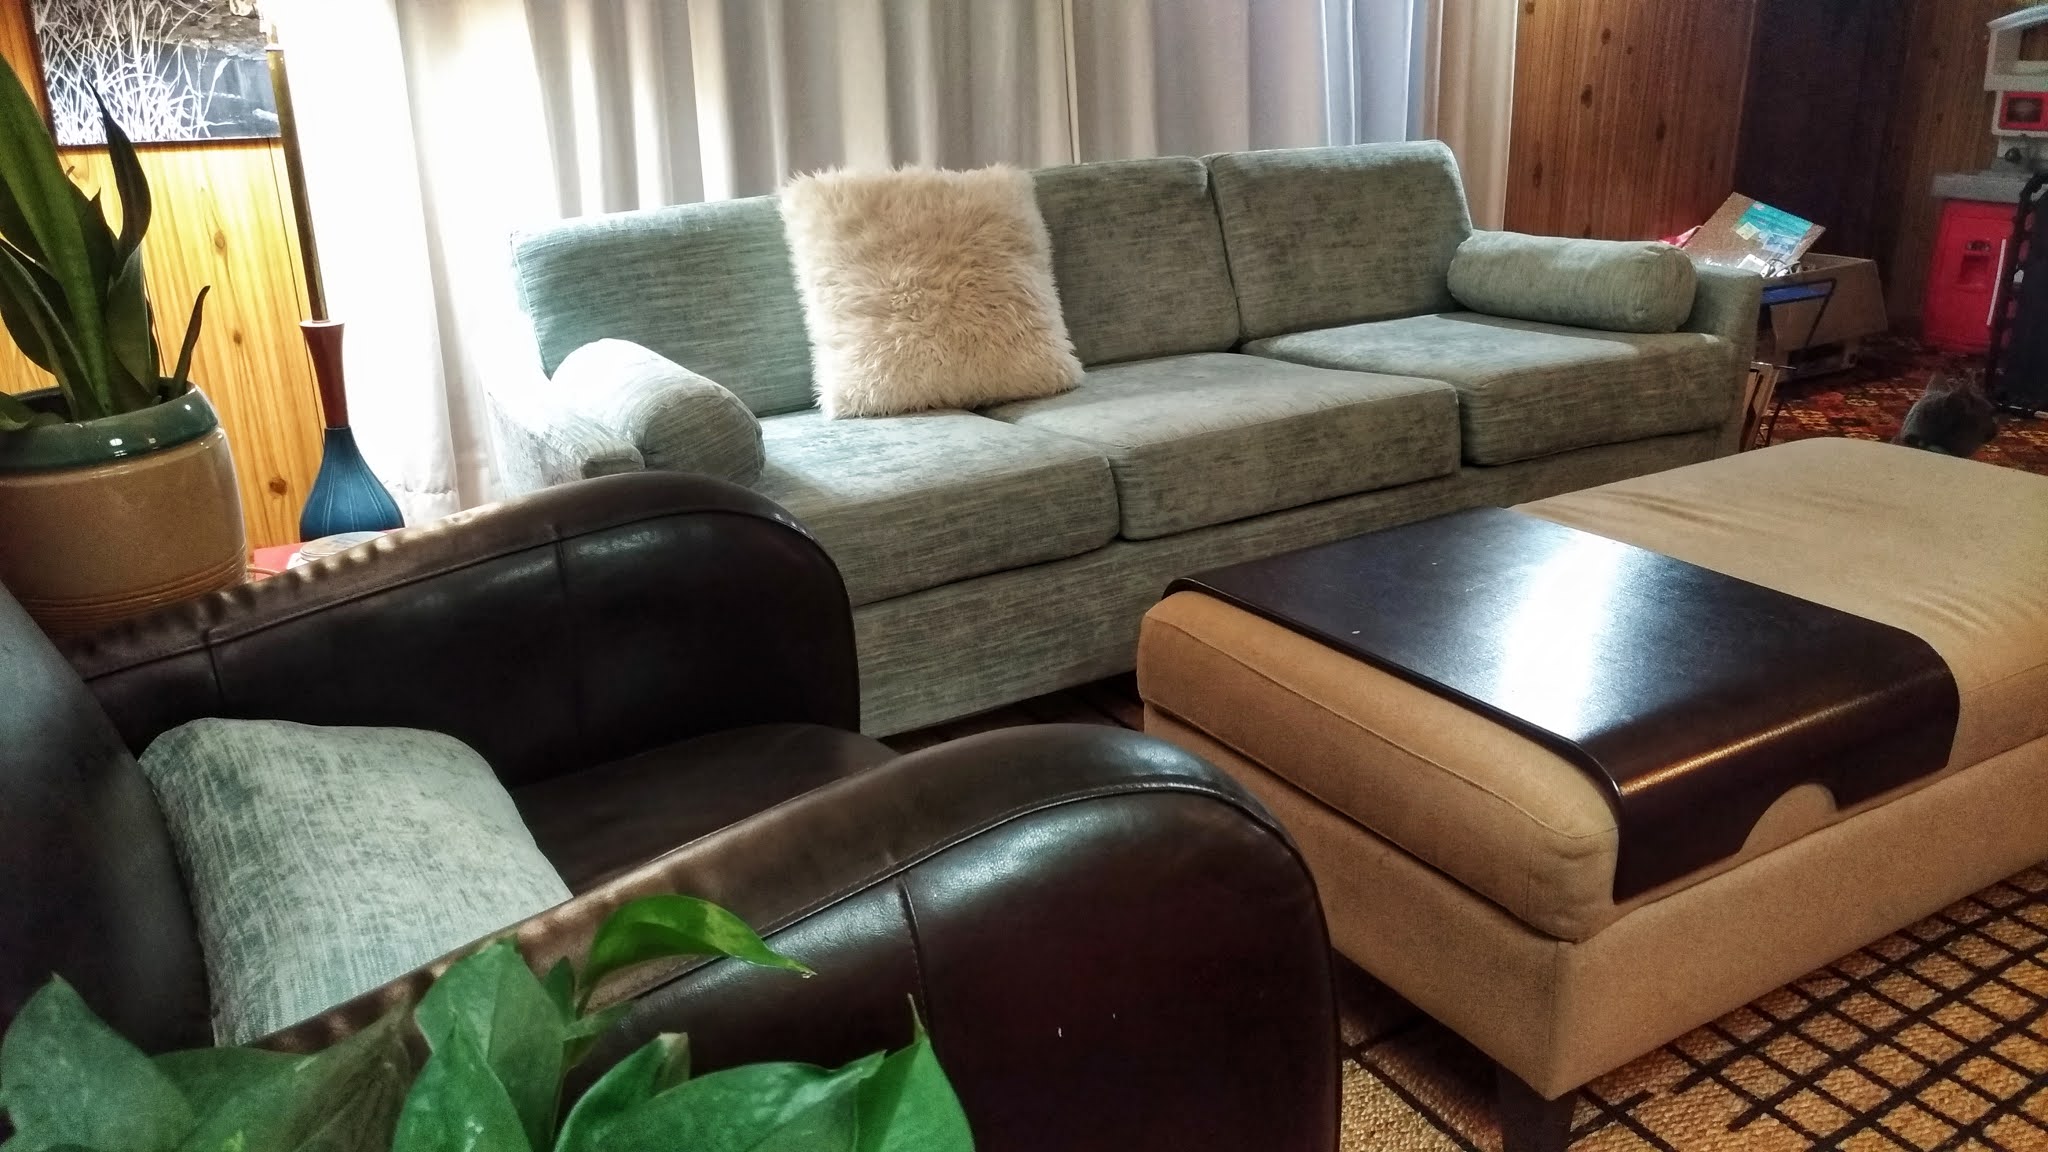
We acquired this sofa a couple of years ago. It was in good condition and sat in the waiting area of a gymnastics center. And it was almost free!


I got it specifically to reupholster, as it had the simple mid-century lines I was looking for.

BEFORE
AFTER

In the meantime, we put it in the TV room. It was so saggy that it gave me back pain to sit on it for too long. Once I was finally ready to reupholster it, the first thing I did was take off the bottom and check that the structure and springs were sound.


I was surprised to find that everything was a-okay!! The cat began his intense supervision of the whole process. Good frame means that sagging comes from the cushions, which is actually a much easier fix.

Tools/supplies:
-butter knife (for staple removal)
-pliers (for staple removal)
-staple gun
-3/8" staples
-fabric scissors
-upholstery machine needle
-zipper foot
-new upholstery fabric (about $250 CAD)
-matching upholstery thread
-zipper (I reused/repurposed mine)
-new foam cushions (about $275 CAD from Eversoft)

 
I removed the dust ruffle for a much sleeker look.


Then I removed the back panel and put it aside to use as a template for the new back panel. I also reserved the two side metal tack strips for reuse later.


The back has some curves at each corner, so that portion was adhered with special tack strips. I removed them, and put them aside as well.


With the back panel off, I began using scissors to remove the piping from the arms.


I draped my new fabric over the front of the sofa. Starting at the front bottom, I began stapling the new fabric in place.


I continued by pulling the fabric through the space between the seat and the back, pulling it tight and stapling it at the back. The same applies for the seat back. The new fabric was stapled at the back and then pushed through the space and also stapled. 

I forgot to take a photos of the arms, but they are a simple two piece, that I pinned to form the arm. Once I had my shape perfect, I sewed it, then turned it right-side in and put it on the opposite arm. The bottoms are then pushed down into the crevices and stapled within.


The cat seemed to enjoy the new fabric, even without the cushion on it. The final step is to cover all of the exposed staples with the back panel. 


The original cardboard tackstrip was basically disintegrating, so instead, I used old business cards as my tack strip. See! They come in handy for something! Once the fabric with tack strip is in place, you pull it down over the back, and you've created a clean line at the top of your panel.


The metal tack strips that were reserved during the removal, are then put on each side and tapped in with a rubber mallet. Then the bottom is pulled tight and stapled underneath.

I put the reserved bottom (crumb catcher) back on the sofa bottom, screwed the legs back on, and flipped it right side up.


With the frame now fully upholstered, I turned my attention to the new cushions. We went with a new medium-firm 6" cushion. As you can see, it is much thicker than the original 4" cushions. When ordering new cushions, measure you existing cushion from seam to seam, then add an inch to it. This will give you the nice curve to your cushions. 


I created the new cushion covers by pinning the top, bottom and side pieces to one another, and I reused the zipper from each existing cushion in the new cushions.


With the old seat cushions no longer being used, I cut them down, and used them for the new back cushions, taking them from 3" to 4" back cushions. Same process as the seat cushions.


Next, I turned my attention to bolsters. I cut them out to fit some old orange ones I had, sewed them, turned them inside out and stuffed them.


A quick hidden stitch to finish those up, and I tossed them on the new sofa! 


The final step is making sure that some cat deterrent in the form of a sticky clear panel I got off of Amazon, and ensuring a new cat scratch tree is nearby. Check and check.

I shouldn't say "final" as I do still want to add tufting buttons to the back cushions, but that will have to wait for now. Stay tuned!


The cat approves.


If you want to see how this room looked before, check out this post from the gallery wall project.

Thanks for stopping by!

Tuesday, 25 May 2021

Mini Project: Threshold Beautification

We needed to replace the rubber gasket on our threshold. This past winter it was obvious that a draft had developed from under the door. 

It is a super simple task: Purchase new aluminum threshold, cut it to length, and install it.

Once I got the old threshold off, however, I couldn't ignore how much it needed a new paint job.

Why, oh why do I make easy tasks into a whole thing?


So, I pulled out some leftover paint from my daughter's bedroom makeover. Okay, so it didn't take that much more effort, and only an extra hour of time to allow paint to dry. But I am still going to complain.

That looks way better, though!

Though, now I want to sand the door, paint the trim, change the entrance rug.... Okay, Okay, all that for another day.

Saturday, 26 December 2020

Mini Project: Table Settings

The holidays are upon us and I wanted to do a layered table setting. My philosophy is to use what you have, no matter the occasion, you can easily find items that will bring the overall vision to fruition.


Now, on the face of it, these gas-station china that inherited don't scream Christmas, but that shouldn't deter from using them. Other accessories can bring even this summer theme to a winter-y vibe.


My cream striped table cloth will do nicely as the back drop.


I found these napkins that don't have a winter-y theme, either, but have a shimmer, that will do well.


To really bring in the Christmas of it all, I went to the dollar store and bought these gold leaf charger plates to sit under the dinner plate.


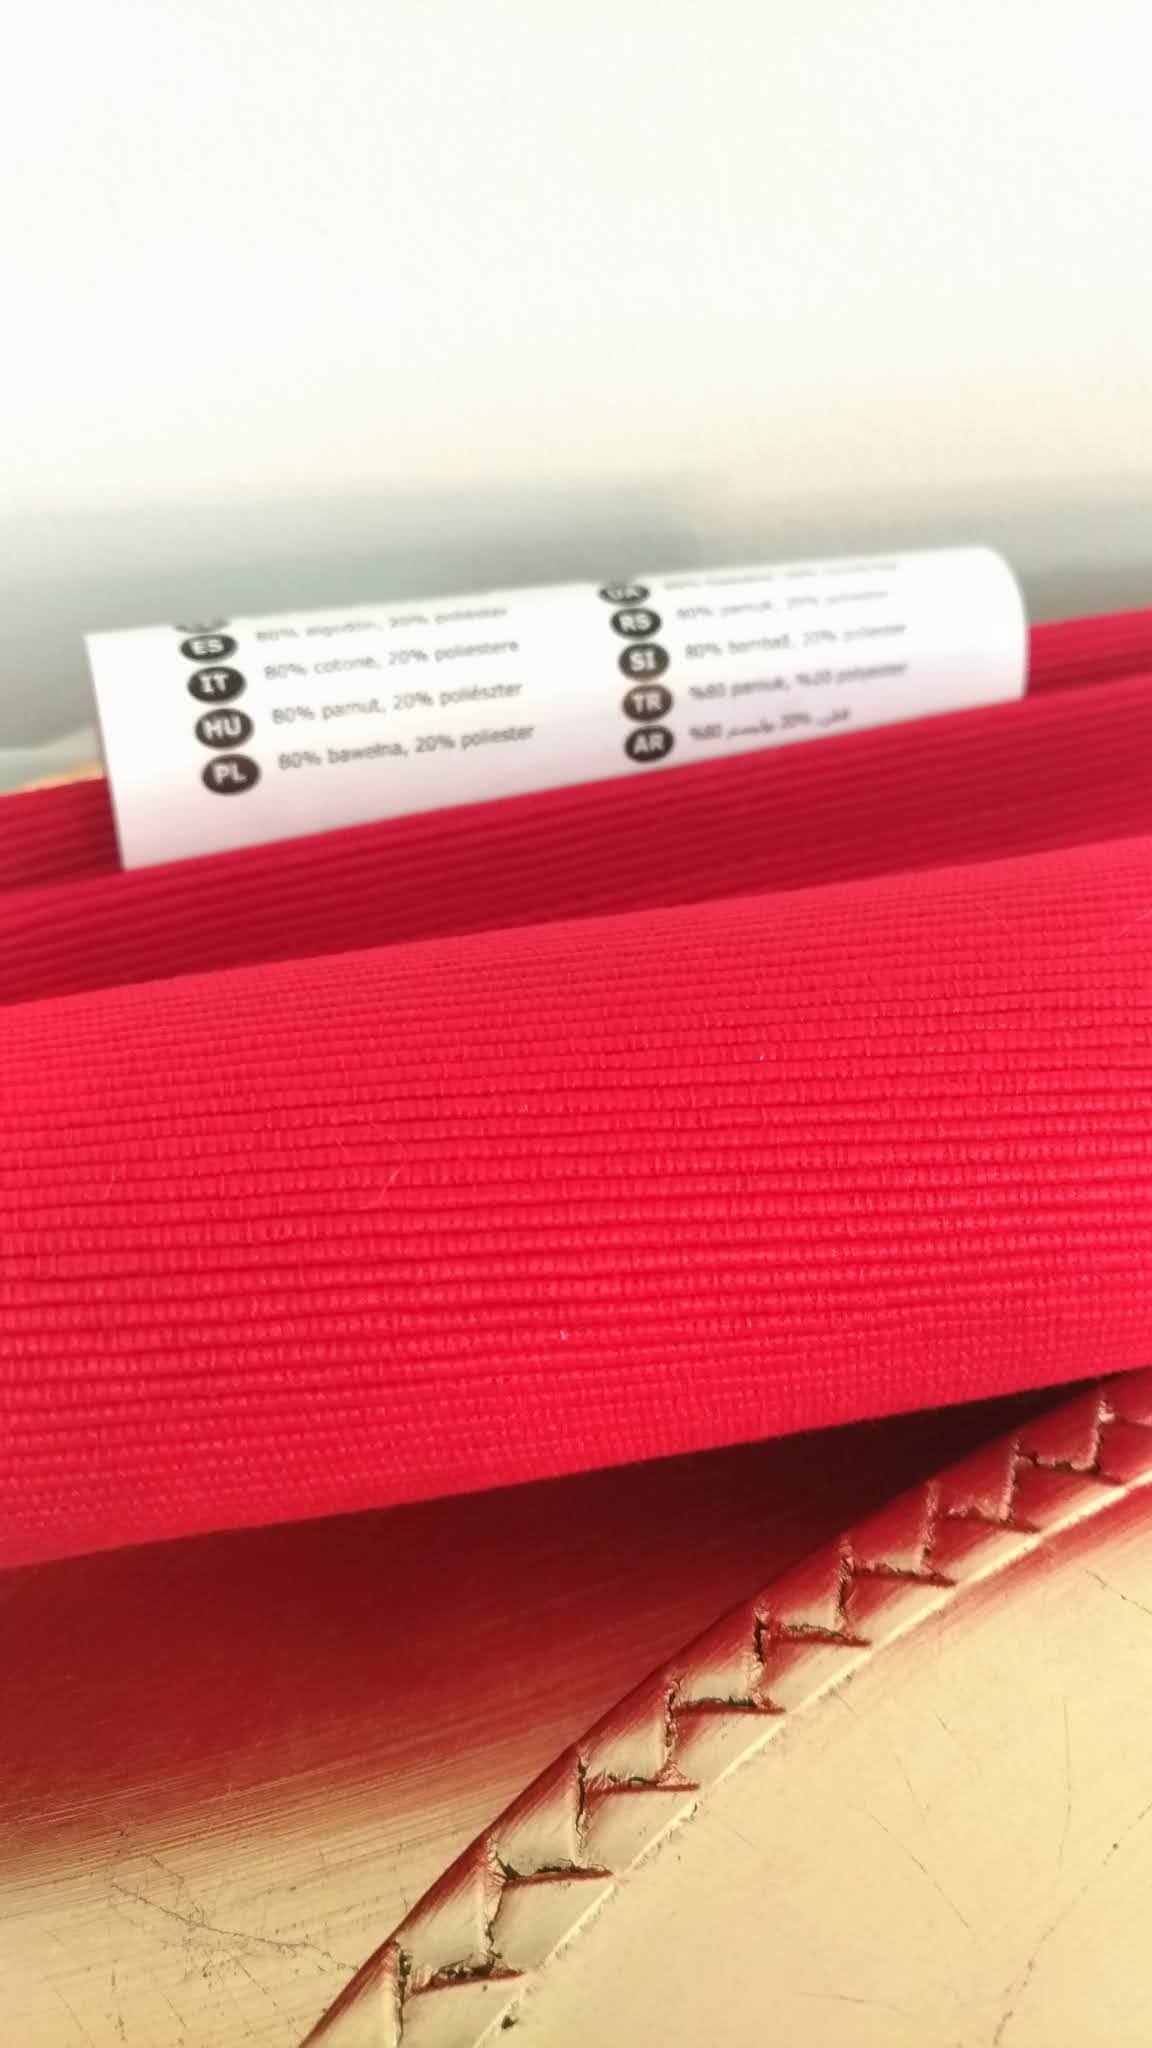
I picked up a simple and inexpensive runner at Ikea; red for a pop of Christmas colour.
Now it is time to put it all together. Layering: table cloth, runner, charger plate, dinner plate.


Silverware could be layered on the napkin, but I chose to go beside. Knife always goes on the right, edge toward the plate, glass directly above the knife. Here's an graphic showing the formal setting. Generally, you won't have this many unless it is a 5+ course meal, so pick and choose based on what you will be eating. Basically, you sort your utensils in the order with which they are served, with the outermost utensils being used first, and making your way in towards the plate.

Finally, to bring in the winter-chic, I went outside and clipped some branches from a tree in my front yard. I pruned them to make a little tidier for use as a center piece, and used some of the smaller ones to jazz up the layering.


Each place setting - simple yet effective. I chose to layer the napkin over the dinner plate since my plate is so summer-like. Add a bread plate if you have bread, wine glasses, water goblets, or a dessert spoon if you need it, get creative!!

The finished table.

So, the moral of the story, it doesn't have to cost a lot if you use what you already have, and get inventive!