Tuesday, 25 May 2021

Mini Project: Cat Scratch Fever, Leather Club Chair edition

The pandemic probably sparked a lot of cats to get their forever homes since we all suddenly found ourselves at home a lot more in 2020. We got the sweetest, cuddliest fur-ball, Loki.

With that, for us at least, also came the addition of some pieces of furniture becoming ad hoc scratching posts. For us, it was the dining room curtains, a red chesterfield, and our brown leather club chair. Yes, he is still alive, mostly due to the cuddles he provides.


Oh, he really did a number on our club chair, though.
However, not all hope is lost. The great thing about good quality leather furniture, is that it can patina with time, so nicks and scratches aren't the end of the world... and leather is somewhat repairable.

Luckily, I also remember my genius friend at the Interior DIYer had this very same issue with a chair that she had. 


I followed smart her instructions, mostly, with one small addition; my safety razor. I found it worked especially well with the furriness, but do be careful as it can take nicks out of the leather if you are not careful. (And do give a safety razor a try. I did so for environmental reasons, but I have saved so much money as well).
I also fully buffed my shoe polish afterwards, as I am sure the brand I used would come off on clothes if not done properly.


It is far from perfect, but is absolutely far better than it was. 


Here he is returning to the scene of the crime, as if nothing has happened. Nature's serial killer, also dabbles in stabby graffiti. 


The last thing to do was place his new scratching post nearby, pre-loaded with Feliscratch. It has worked, and he has not touched the chair since. YAY for small victories!

I hope it works for you, too!

Thursday, 6 May 2021

Gratitude Project: Teacher's Survival Kit

 I live in the province of Alberta and our kids are about to go into 3 weeks of online learning again.

This is totally necessary, and I support it whole-heartedly. That said, it is never easy, and moreover, the last time we did online learning, I realized how difficult it would be for the teacher.

CUE THIS TEACHER'S SURVIVAL KIT FOR ONLINE LEARNING!!!!


Thanks to the Dollar Store I had a great box.

And what is the best way to survive online learning? Be drunk and eat stuff!

So I stocked my kit with the following:

Bottle of wine

Advil

Chocolate

Charcuterie

Cheeses

Fruit

& an "It's OK" sticker


Buy Box.


Add divider.


Add wine.


Fill with goodies.

 
On a serious note: Teacher's are undervalued. Especially during this past year. During a pandemic my kid's teacher has been a bright spot in my child's day. Always upbeat and sunny. She truly cares about these kids and their success. She teaches them empathy and kindness, something I feel you can only do if you already embody those traits. 

So to you, Ms, Cluette-Alstad, I am so grateful to you.

Wednesday, 21 April 2021

Mini Project: Spice Drawer

My spices have been a mess above my microwave. They are difficult to go through, they are up too high, they are just all wrong.

So, I decided to move them to the drawer. That is also a mess... HA!

Cue this mini project!

In order to stop the slide, I figured a tiered system would work. I've seen similar available for purchase in bamboo. I went to Home Depot's hobby section and picked up a 48"x 6" wood board, and a 48" x 1" wood board.

My drawer is 16" wide by 19" deep, so I cut the boards into 16" wide pieces. Then, then I sanded them down, and used wood glue and clamps to create 3 little steps.


I put a staple in each one just to ensure a stronger connection. I removed the clamps, then put each step or tier into the drawer,


Then I put my spices in alphabetical order and that is it! 

A quick and easy project that only took an hour.


Wednesday, 24 February 2021

Retro TV Room: Gallery Wall

As this house slowly evolves, I set my sights on our retro TV room and a way to lighten up the dark wood paneling. Check out this post about the last time I did anything to the room.


Plus, we've been so lucky to have some great photographs taken, in part to Burovision providing photo shoots for designers back when I lived in Ottawa. What a delightfully generous thing for them to have done. Then we were lucky enough to move to Edmonton, and our incredible realtor, Jerry Aulenbach does the same thing for his Clients! So what is one to do with all of those great photos? Put them up in a gallery wall!


Using adhesive picture hangers will avoid damaging the wall, but will also make it a quick and easy project.


I started with the cardboard moose head that was already on the wall for two reasons, A) it is interesting and B) it is already white, which is exactly what I am after. So first I put up a small grouping.


I used different textures, sizes and thicknesses of frames, some with mattes and some without. Again, the name of the game is "visual interest".
The trick to a cohesive grouping with disparate items, is to maintain a consistent space around/between each frame.


It is looking good even in this small amount, and certainly brightens up the space.


Then I gradually kept adding frames until I achieved this:


As I find more photos, I will keep adding to the wall, hopefully covering the whole width.


Whatever you decide to do, just have fun with it! 

Saturday, 26 December 2020

Mini Project: Table Settings

The holidays are upon us and I wanted to do a layered table setting. My philosophy is to use what you have, no matter the occasion, you can easily find items that will bring the overall vision to fruition.


Now, on the face of it, these gas-station china that inherited don't scream Christmas, but that shouldn't deter from using them. Other accessories can bring even this summer theme to a winter-y vibe.


My cream striped table cloth will do nicely as the back drop.


I found these napkins that don't have a winter-y theme, either, but have a shimmer, that will do well.


To really bring in the Christmas of it all, I went to the dollar store and bought these gold leaf charger plates to sit under the dinner plate.


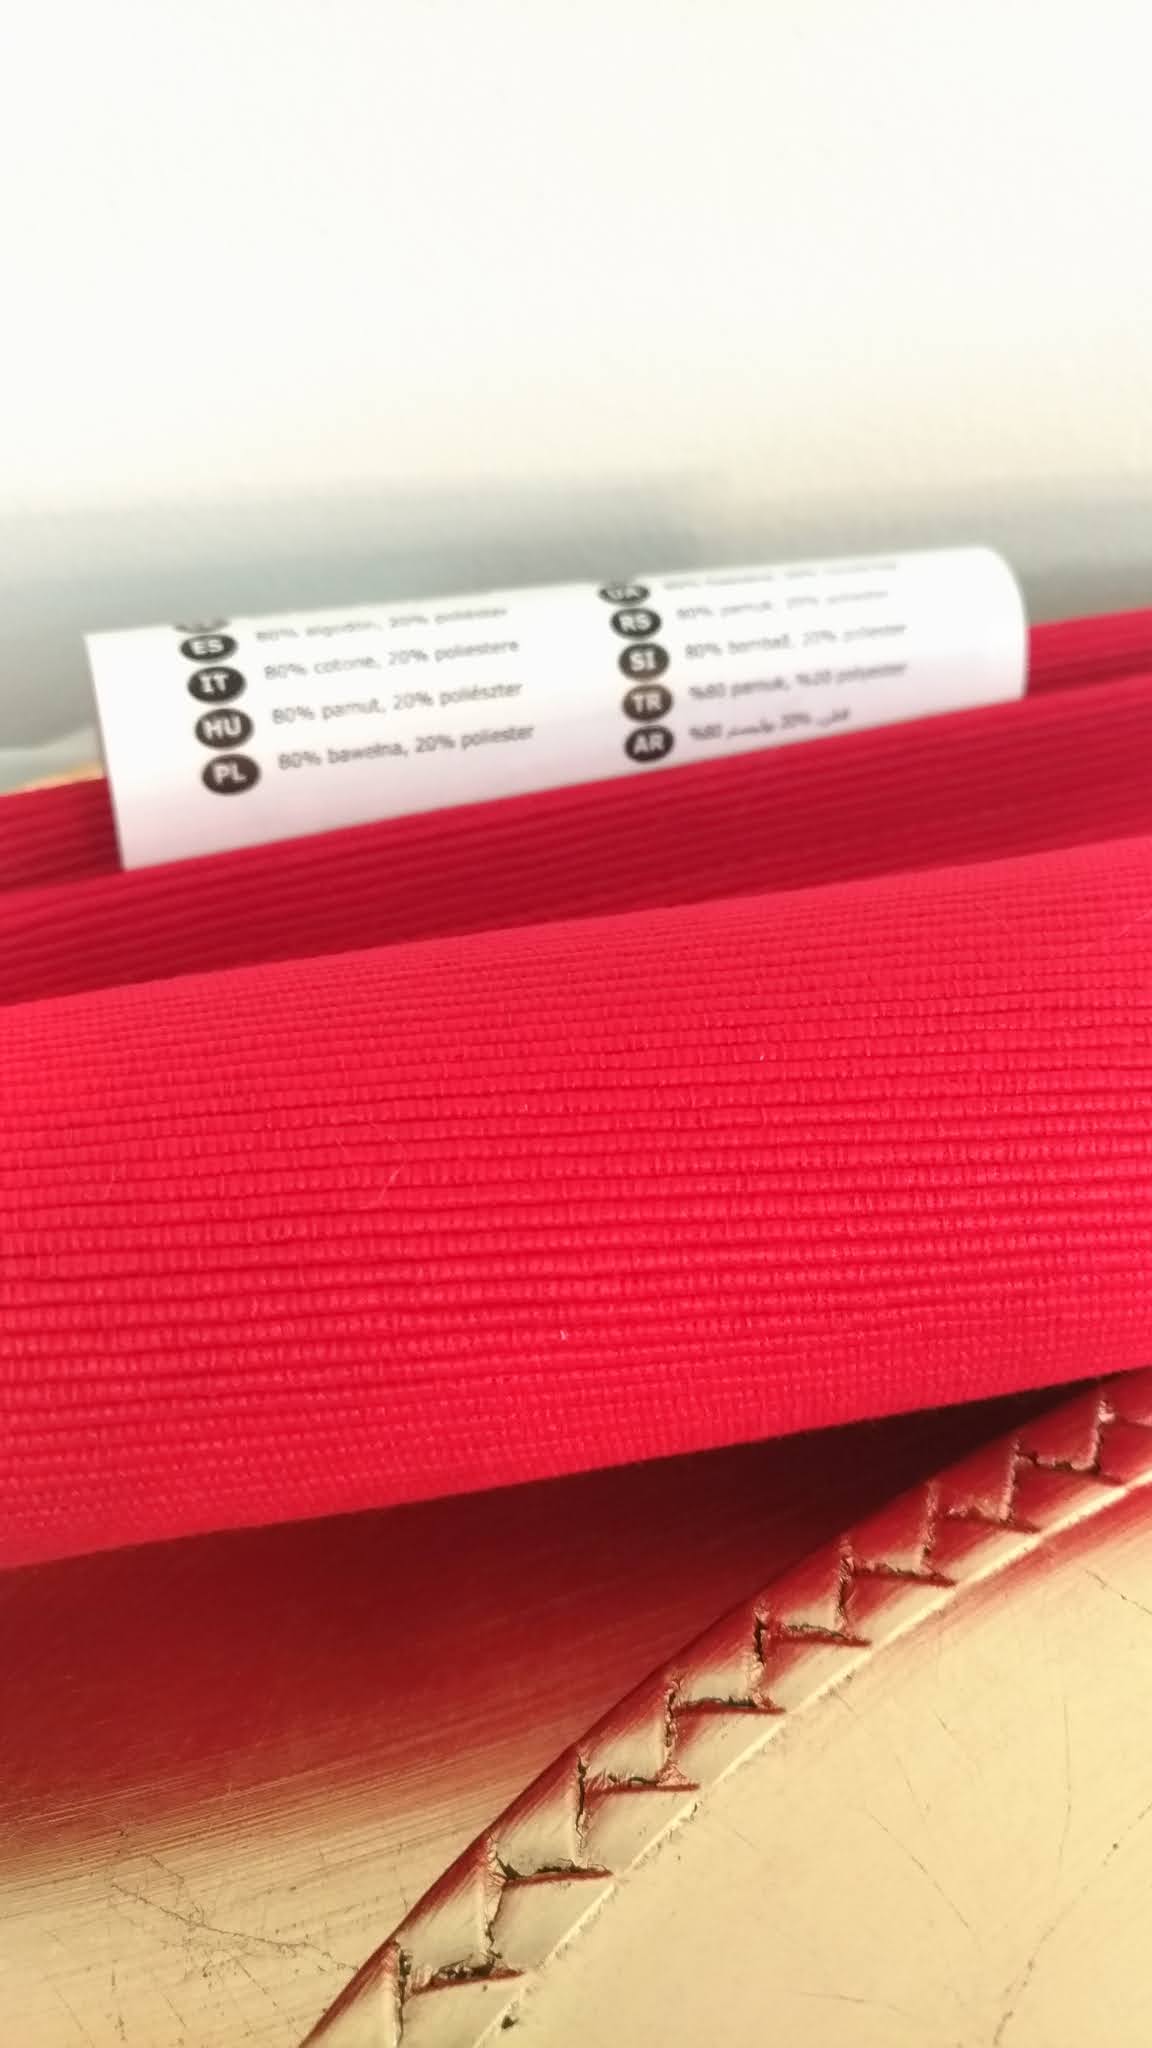
I picked up a simple and inexpensive runner at Ikea; red for a pop of Christmas colour.
Now it is time to put it all together. Layering: table cloth, runner, charger plate, dinner plate.


Silverware could be layered on the napkin, but I chose to go beside. Knife always goes on the right, edge toward the plate, glass directly above the knife. Here's an graphic showing the formal setting. Generally, you won't have this many unless it is a 5+ course meal, so pick and choose based on what you will be eating. Basically, you sort your utensils in the order with which they are served, with the outermost utensils being used first, and making your way in towards the plate.

Finally, to bring in the winter-chic, I went outside and clipped some branches from a tree in my front yard. I pruned them to make a little tidier for use as a center piece, and used some of the smaller ones to jazz up the layering.


Each place setting - simple yet effective. I chose to layer the napkin over the dinner plate since my plate is so summer-like. Add a bread plate if you have bread, wine glasses, water goblets, or a dessert spoon if you need it, get creative!!

The finished table.

So, the moral of the story, it doesn't have to cost a lot if you use what you already have, and get inventive!

Saturday, 7 November 2020

Mini Project: Remembrance Day Wreath

Every year, we support the Legion with the purchase of a few poppies and a donation. Needless to say, we have accumulated quite a few poppies. 


You know I love a good re-use project, so I decided to use a few on a quick and easy project this year: I picked up a generic wreath base and some fake baby's breath at my local Dollarstore.


Then, had a little glue-gun fun with some asymmetrical placement of fake flowers, and we've got a minimalist wreath ready for the front door!


Enjoy!

Tuesday, 29 October 2019

Hallowe'en Bling

What do you do when Michael's has a sale on glittery Hallowe'en spiders? Make Hallowe'en bling, obviously!


 I bought some felt and cut it to the shape that I thought would be flattering for a necklace or collar.