
We acquired this sofa a couple of years ago. It was in good condition and sat in the waiting area of a gymnastics center. And it was almost free!

 |
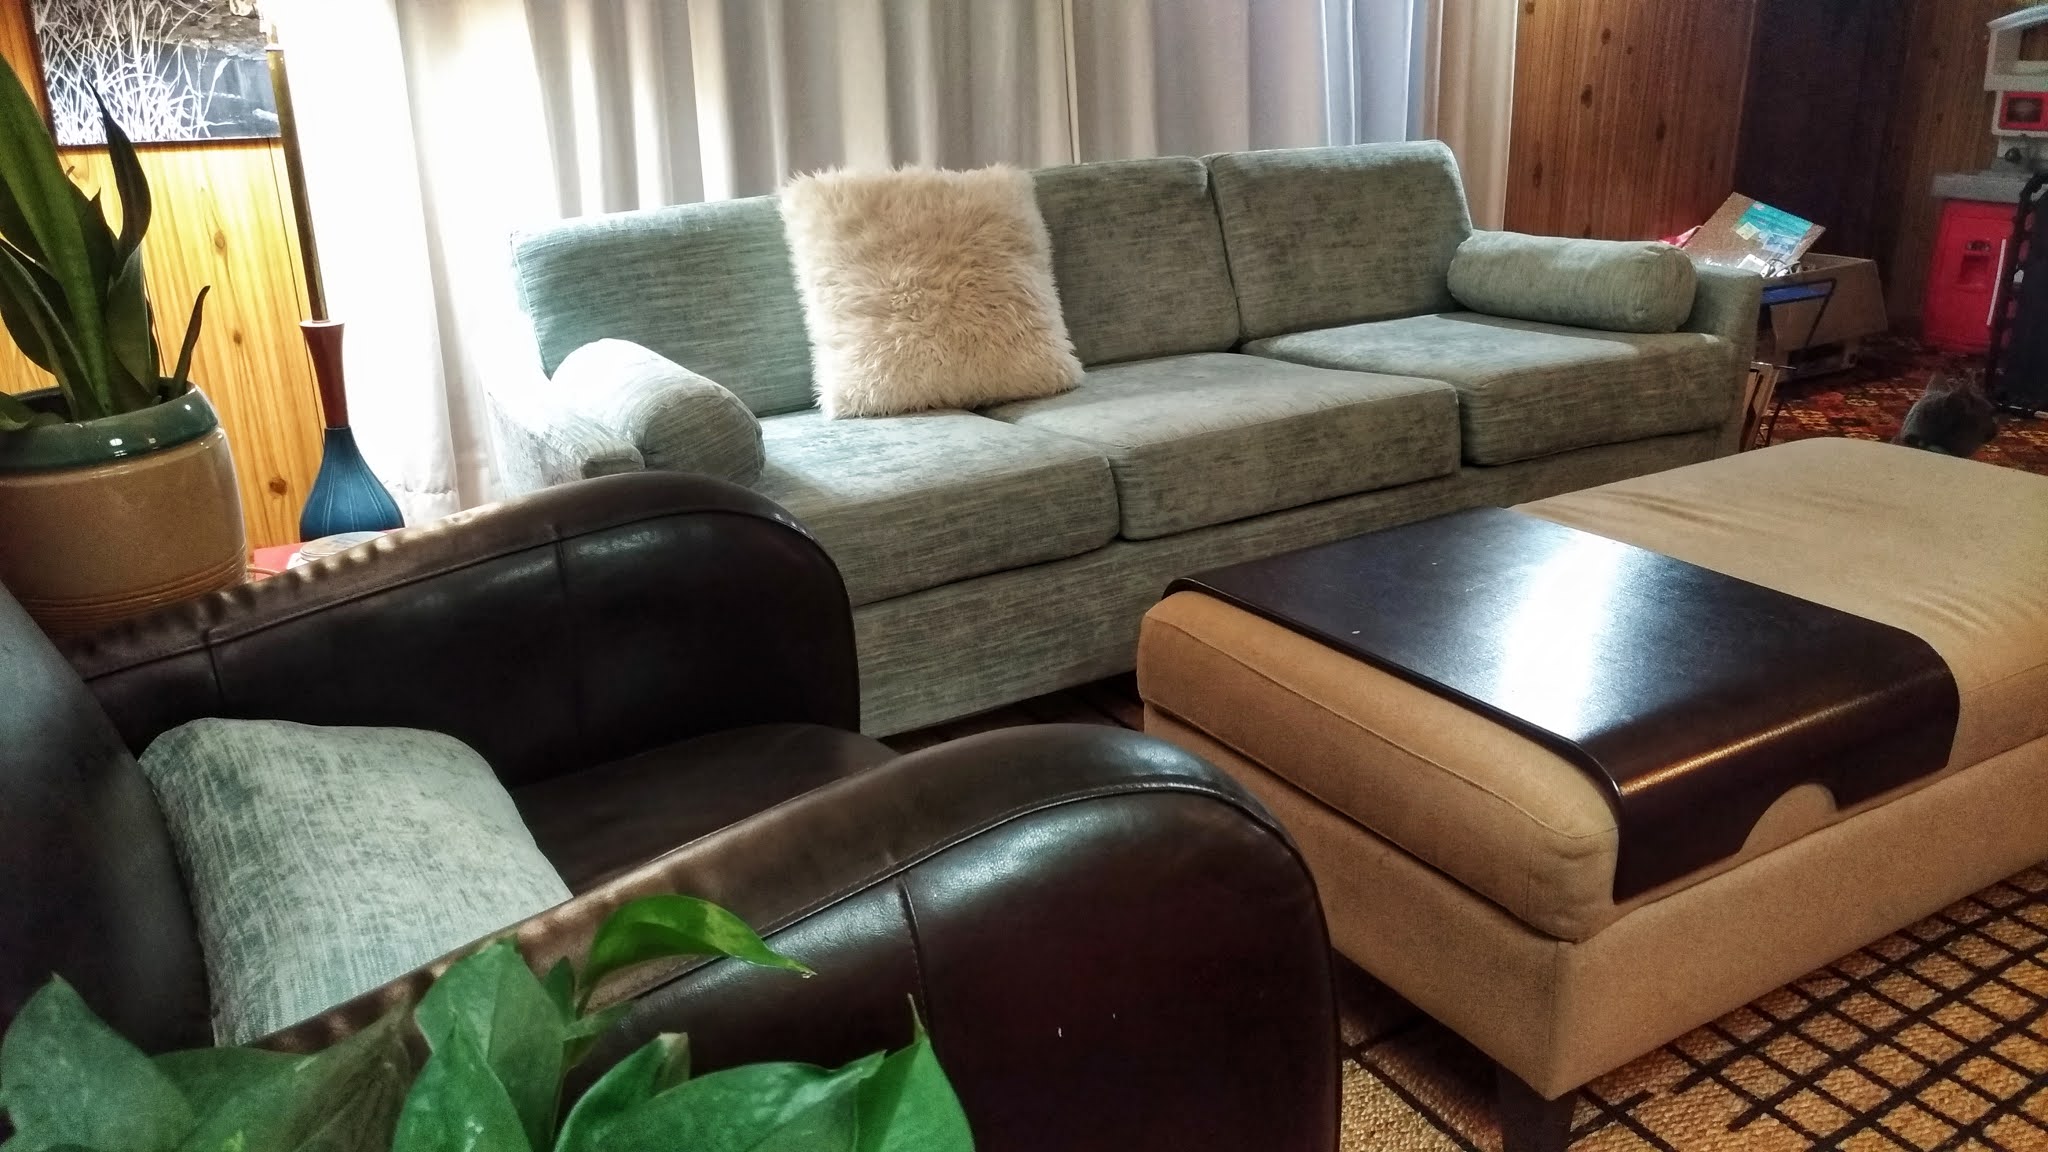
| BEFORE |

In the meantime, we put it in the TV room. It was so saggy that it gave me back pain to sit on it for too long. Once I was finally ready to reupholster it, the first thing I did was take off the bottom and check that the structure and springs were sound.

Tools/supplies:
-butter knife (for staple removal)
-pliers (for staple removal)
-staple gun
-3/8" staples
-fabric scissors
-upholstery machine needle
-zipper foot
-new upholstery fabric (about $250 CAD)
-matching upholstery thread
-zipper (I reused/repurposed mine)
-new foam cushions (about $275 CAD from Eversoft)

I removed the dust ruffle for a much sleeker look.


The back has some curves at each corner, so that portion was adhered with special tack strips. I removed them, and put them aside as well.

Then I removed the back panel and put it aside to use as a template for the new back panel. I also reserved the two side metal tack strips for reuse later.


I draped my new fabric over the front of the sofa. Starting at the front bottom, I began stapling the new fabric in place.

I forgot to take a photos of the arms, but they are a simple two piece, that I pinned to form the arm. Once I had my shape perfect, I sewed it, then turned it right-side in and put it on the opposite arm. The bottoms are then pushed down into the crevices and stapled within.

The cat seemed to enjoy the new fabric, even without the cushion on it. The final step is to cover all of the exposed staples with the back panel.


The metal tack strips that were reserved during the removal, are then put on each side and tapped in with a rubber mallet. Then the bottom is pulled tight and stapled underneath.
I put the reserved bottom (crumb catcher) back on the sofa bottom, screwed the legs back on, and flipped it right side up.

With the frame now fully upholstered, I turned my attention to the new cushions. We went with a new medium-firm 6" cushion. As you can see, it is much thicker than the original 4" cushions. When ordering new cushions, measure you existing cushion from seam to seam, then add an inch to it. This will give you the nice curve to your cushions.

I created the new cushion covers by pinning the top, bottom and side pieces to one another, and I reused the zipper from each existing cushion in the new cushions.

With the old seat cushions no longer being used, I cut them down, and used them for the new back cushions, taking them from 3" to 4" back cushions. Same process as the seat cushions.


Next, I turned my attention to bolsters. I cut them out to fit some old orange ones I had, sewed them, turned them inside out and stuffed them.

A quick hidden stitch to finish those up, and I tossed them on the new sofa!

The final step is making sure that some cat deterrent in the form of a sticky clear panel I got off of Amazon, and ensuring a new cat scratch tree is nearby. Check and check.
I shouldn't say "final" as I do still want to add tufting buttons to the back cushions, but that will have to wait for now. Stay tuned!

The cat approves.


If you want to see how this room looked before, check out this post from the gallery wall project.
Thanks for stopping by!
Groovy, Pat!
ReplyDelete