
You can find the last post, here.
With all of the posts brackets in place, the posts were ready to go up.
By this time our nephew had gone back to BC, so it was back to being just me and Hubby doing all of the heavy lifting.

Huge thanks to our friend, Andrew, who lent us his mitre-saw. Without it, cutting these 4"x4" posts would have been a much harder job.
So, we put in the posts with deck screws, leveling while we went.
It went relatively quickly, so we thought we'd have the fence up in no time.

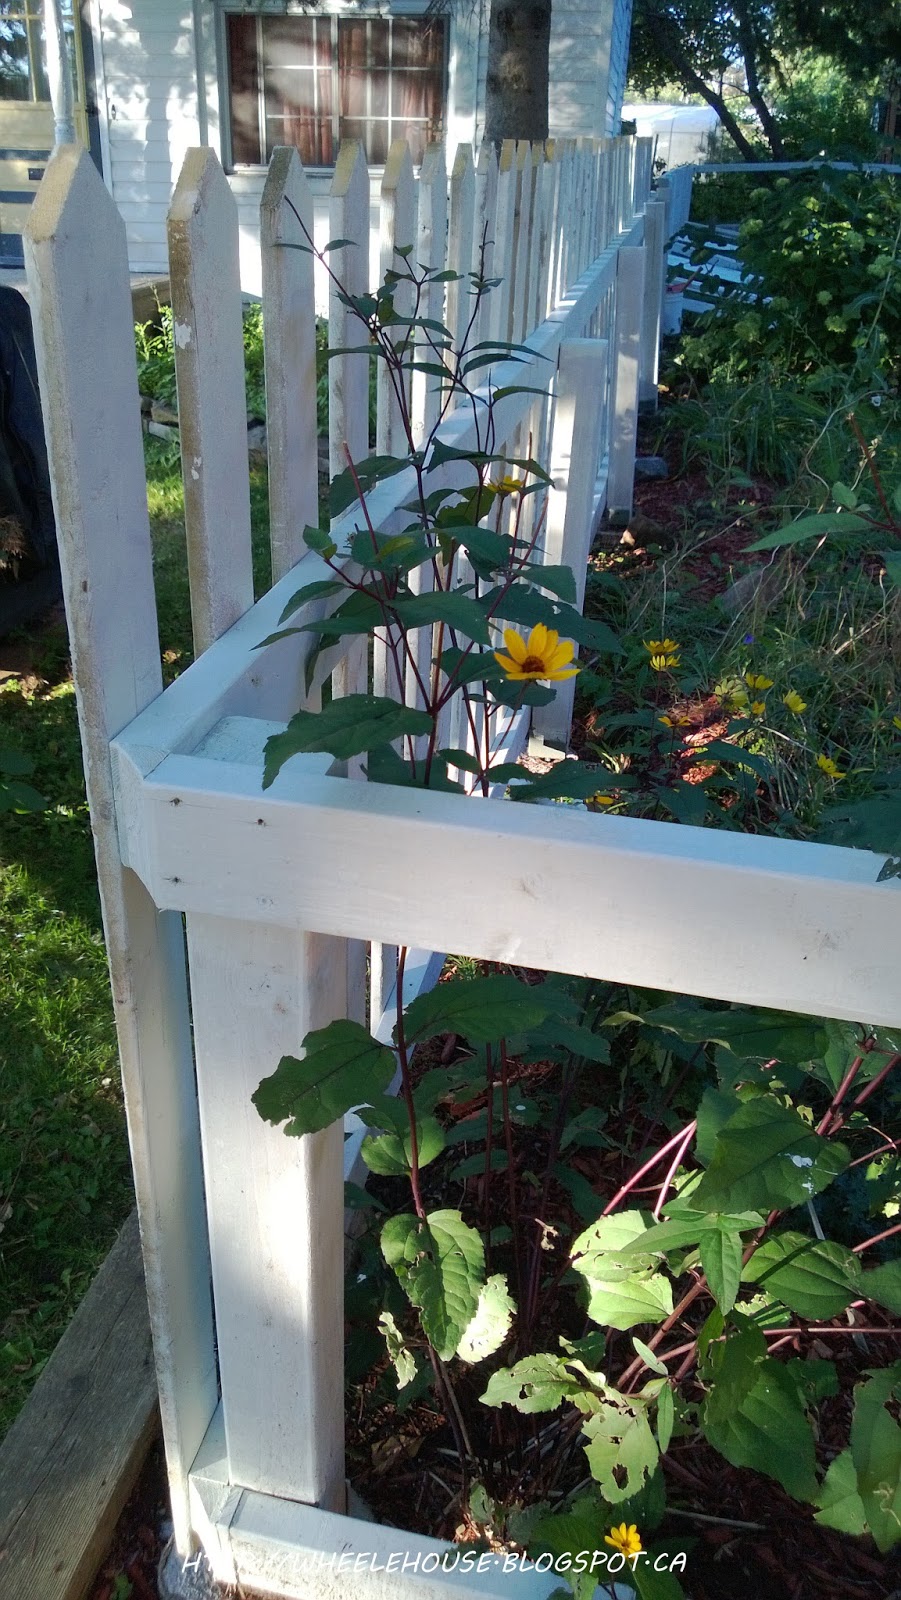
Then we began putting up the stringers. Along the back section, the ground slopes up to a tree in the middle.
I rather liked this as it had that country feel. I always imagine our old house as the original farmhouse out in the middle of a field before the property was subdivided and populated with homes.

Hubby did a great job putting in a double gate. We ensured that it was big enough to completely open up for future yard work, a utility trailer, and our motorcycles. I began to paint the fence skeleton with a water-based solid stain. Water-based stains are more eco-friendly, so it was an easy choice for me.
Also, I captured this gorgeous spider web one day before work.
Anyway, that is as far as we got. Now it was time to find some pickets.
Like I said before, the pickets worked stylistically for what we wanted, but finding them turned out to be a bit of a challenge.
Almost a month passed.

But find them I did.
AND, I found a paint sprayer.
I managed to paint what you see here in 11 minutes.
That totally justifies the $80 I spent on it - plus to rent it was going to be $70.

2 days later, the pickets were dry, and ready to go up.
Each section took me about 30 minutes in the beginning.
To keep everything even, I attached the first picket to the end of the frame, and used a level to make sure it was straight. Then I attached a scrap piece of 2x4 to the back side of another picket; this allows this picket to act as my spacer. The extra wood on the back lets the picket hang from the stringer giving me a consistent height.
So as after my first picket goes up, I put my spacer in, then nail in another picket on the other side. I just keep moving my spacer to the end and repeating the process again and again. Of course, I would still check how level the last picket was once I came to another post.

After the first 30 minutes, I wanted to make sure that all of my work was not going to be futile; I mean, the whole point of this fence is to keep Grey-dog in when we are enjoying the back yard.
Soooo, I kinda enticed him with food.
I am happy to report, that Grey does not get past his cheek-bones, so I think we are going to be able to keep him in.
This makes me a bad pet mom, doesn't it?
No?
Oh.... the fact that I laughed so hard while doing it does?
Ha!

I was super pleased at how this was all going.
Okay, maybe not please with how trampled my garden got - again refer to the last post for a refresher on how it used to look.

Anyway, back to the fence - with the fence at 48 inches, it comes to just the bottom of the neighbour's window. We didn't want to block them off, or be the jerks who gave them the view of the back of a fence!

Anyway, our yard looked real funky for the next week... BUT I got all of the pickets up.

I used every single one of them... then I realized that I still had the front entrance to do.
FML.
So as it sits now, I have ordered another 50 pickets.
We still have to put latches on the gates, and figure a way to secure them to the ground.
I guess you will have to stay tuned for a Part 3!
You are such a good do-it-yourselfer! I won't lie... I am a little jealous! PatC
ReplyDeleteThanks Patsi-cola!
DeleteI really have to do something about the sad state of my flower beds though.
Last year I made them look so pretty. Poo to hard work being undone.
Love! Makes it look like we planned the whole thing. ;P
ReplyDeleteWell, you are right.
DeleteEveryone should know that we had to go back and tweak some areas that made more sense to have level as opposed to moving up and down with the landscape. Although my photos make it look easy, we sometimes had a tough time figuring out how to make something work.
Oh man, your yard is looking so SA-WEET. I love how your fence ties in so well with your home. Your yard looks so cottagey and lovely and I want to come over for a G&Tea party. I'm also blown away by how selfless you are by putting the posts on the far side of the fence.
ReplyDeletep.s. your dog-mom picture made me proper LOL. His little face!!!
Cottagey, yes.
DeleteI can't wait to get my hands on it next year, and really make a big impact with new flower beds along the whole perimeter. Today, I am tackling pruning back the bush in the back, by the tree...
I am pretty sure a family of raccoons were having an orgy under it 2 nights ago.
The noise had Me and Grey wake up - with Grey running to our bedroom window, then bolting downstairs - barking all the while! He was quite agitated, and even though the lights going on in the back had already scared the raccoons away, Grey was amped up. It took another 30 minutes before he was calm enough to go back to sleep. Eventful night!!